This Item Is No Longer Located in Verify the Location and Try Again
An interesting condition in Windows is when a file is hidden from the organisation such that we cannot delete, rename, or open it. However, the file all the same exists in the organization directories.
A known error associated with this condition is:
"Could not discover this item. This is no longer located in [Path]. Verify the item's location and try once again".
![Could Not Find This Item. This Is No Longer Located In [path]. Verify The Item's Location And Try Again](https://thegeekpage.com/wp-content/uploads/2018/07/Could-not-find-this-item.-This-is-no-longer-located-in-Path.-Verify-the-item's-location-and-try-again.png "Could Not Find This Item. This Is No Longer Located In [path]. Verify The Item's Location And Try Again")
Where [Path] is the location of the file in the file explorer. Basically, if nosotros cannot admission a file, we cannot do annihilation with information technology. However, what could exist understood is that this file could be located and modified using Control Prompt since it does be in the organisation.
Crusade
1 known reason is that the extension of files created by tertiary party applications might not be clearly defined and this, it might exist untraceable by file explorer. However, we cannot conclude this to be the merely crusade. While moving to the resolution, the only thing we need to take in mind is the file while not locatable past the file explorer could be observed through Command Prompt.
Set 1 – Archive the files to delete them
If null and so far has worked out, yous tin endeavour to archive the files and delete the original files in the procedure of archiving them.
NOTE–
You will need the WinRAR installed on your calculator to enact this solution on your system. If you don't have information technology installed, click on this link to download the setup file. Run the setup file to install WinRAR on your system.
ane. Get to the location of the problematic files on your computer.
2. Right-click on the file and click on "Add together to archive…".

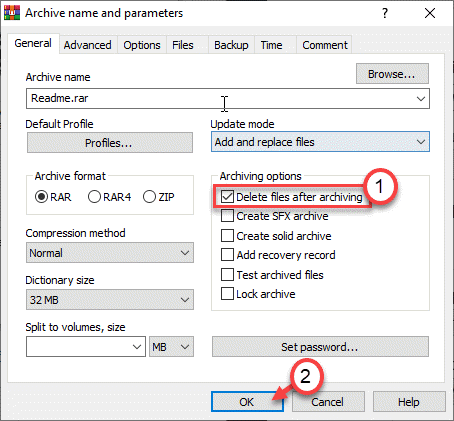
3. One time the Archive proper name and parameters window opens up, cheque the box beside the "Delete files after archiving".
4. Finally, click on "OK".
Once the archiving process is complete, the original file (problematic file) will be automatically deleted from your system.
5. Now, correct-click on the archived file you have but created and click on "Delete".
This will also delete the zipped file from your computer. Your trouble should be fixed with this quick workaround.
Set-2 Delete the File/ Folder from the file/ folder path-
To delete the problematic file/folder you have to get to binder path through Command Prompt and then delete the file from within it.
1. To open File Explorer window, printing Windows key+Eastward and navigate to the file/ folder location.
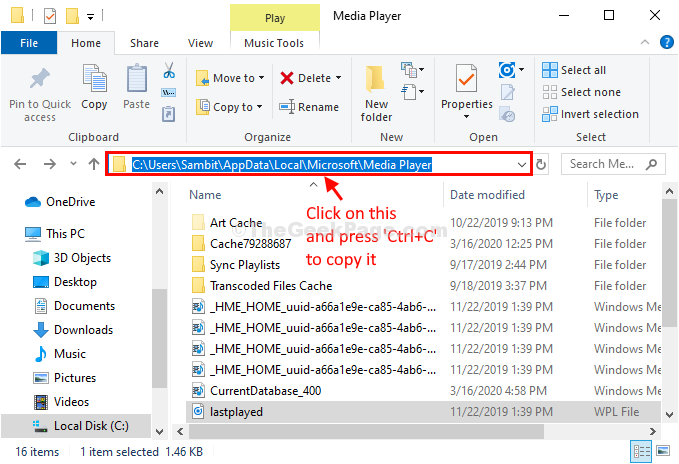
2. After you accept opened the file/ folder, click on to select the file address.
3. At present, press 'Ctrl+C' to copy the file path.
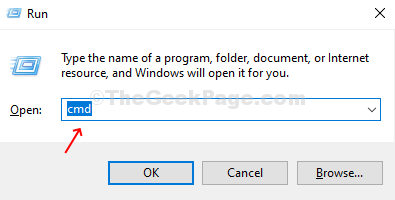
4. Press Windows primal+R to launch Run. In Run window, type "cmd" and so hit Enter.
Control Prompt window will exist opened.
five. In Command Prompt window, copy-paste and modify these commands and then hit Enter later each of the commands to execute them sequentially.
cd <paste the file/folder location>
Note–
This command should look like this-
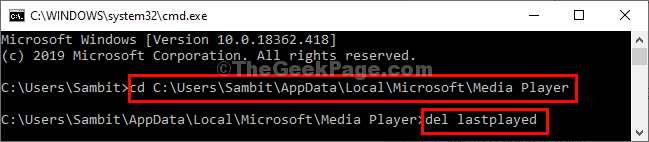
cd C:\Users\Sambit\AppData\Local\Microsoft\Media Player
6. Now, execute this command to delete the file from your reckoner.
del <File proper noun yous desire to delete>
NOTE–
The file you want to delete identify it subsequently 'del' control.
Example- As we want to delete 'lastplayed' file, our command will exist-
del lastplayed
Once the file is deleted, close Command Prompt window.
Prepare 3 – Deleting the file using Control Prompt
The mistake would be causing issues to regular work, so most users would consider deleting the file itself. The procedure to practise and then is as follows:
1] Press Win + R to open the Run window and type the control cmd. Printing Enter to open the Command Prompt.
ii] Type the control:
rd /s \\?\Z:\bad\folder\path
Where Z:\bad\binder\path is the path of the file and Z: is the drive letter of the drive in which the file is located.
Gear up iv – Renaming the file using Control Prompt
1] Press Win + R to open the Run window and blazon the command cmd. Press Enter to open the Command Prompt.
2] We take to navigate to the exact binder in which the file is situated, not the file itself. Type the command:
cd Z:\bad\folder1\folder2…\foldern
Where Z: is the drive in which the file is located.
Basically, the command is cd followed past the path of the file without the name of the file at the finish. Then type the following commands one by one (press Enter later on each command):
DIR /A /X /P
RENAME (name of the problematic file) (some other proper noun) EXIT
This would help rename the file and so it doesn't cause that error prompt again.
This should assist fix the event.
Source: https://thegeekpage.com/fix-could-not-find-this-item-this-is-no-longer-located-in-path-verify-the-items-location-and-try-again/
Belum ada Komentar untuk "This Item Is No Longer Located in Verify the Location and Try Again"
Posting Komentar